Mitigating Glitch Artifacts in Web-Based 3D Geometry Compression
Learn how to detect and mitigate glitch artifacts in web-based 3D geometry compression to ensure high-quality, lightweight GLB files for your projects.
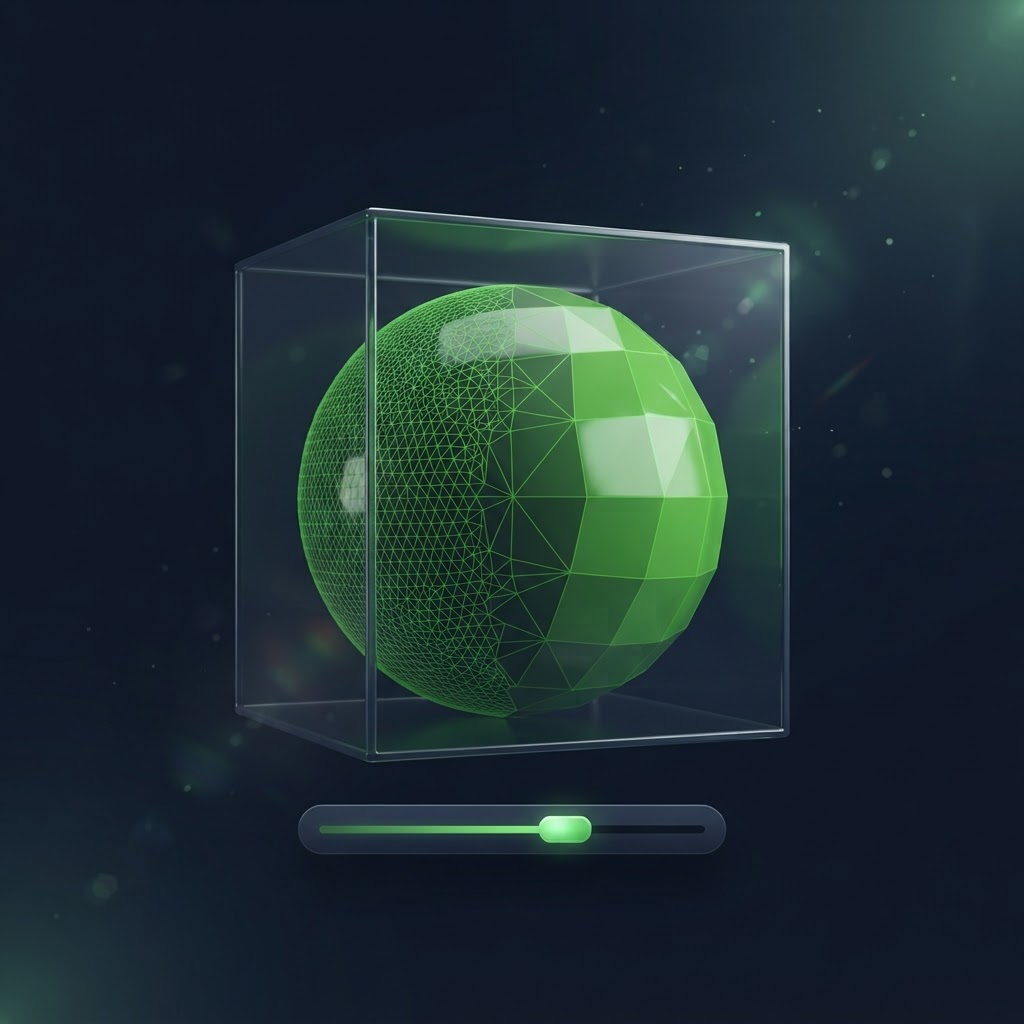
Understanding the Challenges of 3D Geometry Compression
When developers integrate 3D content into web environments, mitigating glitch artifacts in web-based 3D geometry compression becomes a primary concern for performance. While reducing file size is essential for fast loading times and user retention, the process of mesh simplification and attribute quantization often introduces visual noise. These artifacts, commonly referred to as geometric glitches, can manifest as flickering faces, distorted vertices, or broken normals that ruin the immersive experience of a 3D scene.
Causes of Artifacts in Mesh Processing
Most web-based 3D assets utilize the GLB format, which is the binary transmission format for glTF. During the compression process, algorithms like Draco attempt to shrink the index buffer and vertex attributes. Issues arise when the quantization range is set too aggressively. If the bit depth for vertex coordinates is reduced below the threshold of your model's scale, the snapping of vertices to a coarser grid creates visible surface tearing or jagged edges.
Another significant cause of glitch artifacts is the improper handling of tangent space data. When normals or tangents are quantized alongside vertex positions, the loss of precision can lead to shading discontinuities. Users often notice these as dark, unnatural seams running across smooth surfaces, specifically where the mesh topology is complex.
Strategies for Mitigating Glitch Artifacts in Web-Based 3D Geometry Compression
To achieve a balance between file size and visual fidelity, you must follow a disciplined workflow. Here are the most effective strategies to prevent defects during your optimization pipeline.
1. Optimize Quantization Settings
Quantization is the most effective way to reduce file size, but it is also the primary culprit behind geometry glitches. Instead of using default global settings, customize your quantization parameters based on the bounding box of your object. A larger object requires higher precision to avoid visible jitter.
- Use 12 to 14 bits for position data on high-fidelity hero models.
- Use 10 to 12 bits for secondary objects or background assets.
- Maintain 8 bits for color attributes unless vertex paint detail is critical.
2. Implement Proper Mesh Normalization
Before you begin the compression process, ensure your mesh is normalized. This means your coordinates should ideally reside within a unit cube or a consistent scale range. When geometry is inconsistently scaled, the compression algorithm struggles to allocate bits efficiently, leading to floating-point errors that result in glitching.
3. Simplify Topologies Before Compression
Attempting to compress a mesh with millions of polygons is a recipe for visual degradation. Decimation should occur before applying geometry compression. Use tools that support quad-remeshing or edge-collapse algorithms that preserve the hard edges and smoothing groups of your model. By reducing the polygon count through intelligent decimation, you require less aggressive quantization, which directly helps in mitigating glitch artifacts in web-based 3D geometry compression.
| Feature | Low Artifact Risk | High Artifact Risk | Recommendation | | :--- | :--- | :--- | :--- | | Quantization Bits | 14-16 bit | 8-10 bit | Use 12+ for hero assets | | Normal Precision | High (Float32) | Low (Octahedral) | Use Octahedral for web | | Mesh Scale | Normalized (1.0) | Extreme Scale | Normalize before export |
Advanced Troubleshooting and Normal Mapping
If you find that your model still displays artifacts after compression, verify your normal maps. Often, the glitch is not in the geometry itself but in how the shader interprets the transformed normals. Using compressed textures alongside compressed geometry can compound errors if the normal map compression uses a lossy format like DXT1 or ETC1. Consider using Basis Universal or KTX2 for your textures, as these formats are designed to be uploaded directly to the GPU without intermediate decoding artifacts.
Furthermore, keep an eye on your index buffer. If your mesh has non-manifold geometry or overlapping faces, the decompression step in the browser may cause vertices to weld incorrectly. Running a mesh repair script to weld overlapping vertices and remove degenerate faces is a prerequisite for successful 3D geometry optimization.
Frequently Asked Questions
Why do my 3D models flicker after compression?
Flickering, or Z-fighting, is often caused by low-precision quantization causing faces to overlap or shift. Increase your quantization bit depth to resolve this.
Can web-based 3D geometry compression cause shading issues?
Yes. If you compress your normal or tangent attributes too aggressively, the lighting engine will fail to calculate correct reflections, resulting in flat, blocky, or dark shading artifacts.
Is it better to compress geometry or textures first?
Both are important, but you should always decimate your mesh and clean up your topology before applying any form of geometry compression. Geometry optimization is the foundation for a clean visual render.
Conclusion
Achieving perfect 3D assets for the web requires a focus on precision and iterative testing. By following the steps outlined above, you can confidently reduce your file sizes without sacrificing the visual integrity of your models. File Optimized offers a suite of browser-based, private, and local tools to help you compress your 3D files and manage geometry optimization efficiently, ensuring that your high-quality assets remain crisp, performant, and secure without ever leaving your local machine.